
Hello my lovely crocheters! How have you been doing duing this pandemic? I've been on a roll making top after top. You can find them on my Ravelry store. This is one of the many designs I wipped out during the pandemic. I named this tee with help from my Instargam friends who suggested and voted on different names, and I finally chose Retrofun Polo Tee.
So... let's jump right in... [go through the whole pattern once before you pick up your hook!]
STEP 1: Measrements & Calclations
This top needs only 2 measurements.
A. How long you want your top to be.
B. Half of bust measurement.
C. Armhole measurement.
STEP 2: Swatch & Gauge
Make a swatch with dc and measure how many dc you have in 1 inch, and how many rows you have in 1 inch. This was my gauge. [you don't have to match my gauge, this is just for reference]
5dc = 1inch
2rows = 1 inch
STEP 3: Making the panels.
The top is made in 2 panels and joined at the side seams. Each panel should be the following measurement.
Width = half of bust measurement [B]
Length = Length of top [A]
Here's my front panel. This panel will be the back.

Now let's do panel 2. Begin working exactly the same way as panel 1. Now you already know how mny dc and how mant rows you need to complete your panel. Keep measuring the length of the piece, when you have around 4 inhches left [in length], place a stitch marker in the middle of the row.

In the next row, work halfway across till you reach the marker, turn and make next row. We will work only on one side till you finish the total length of the top. You should have something like this now. The total number of rows should be the same as panel 1. Fasten off.

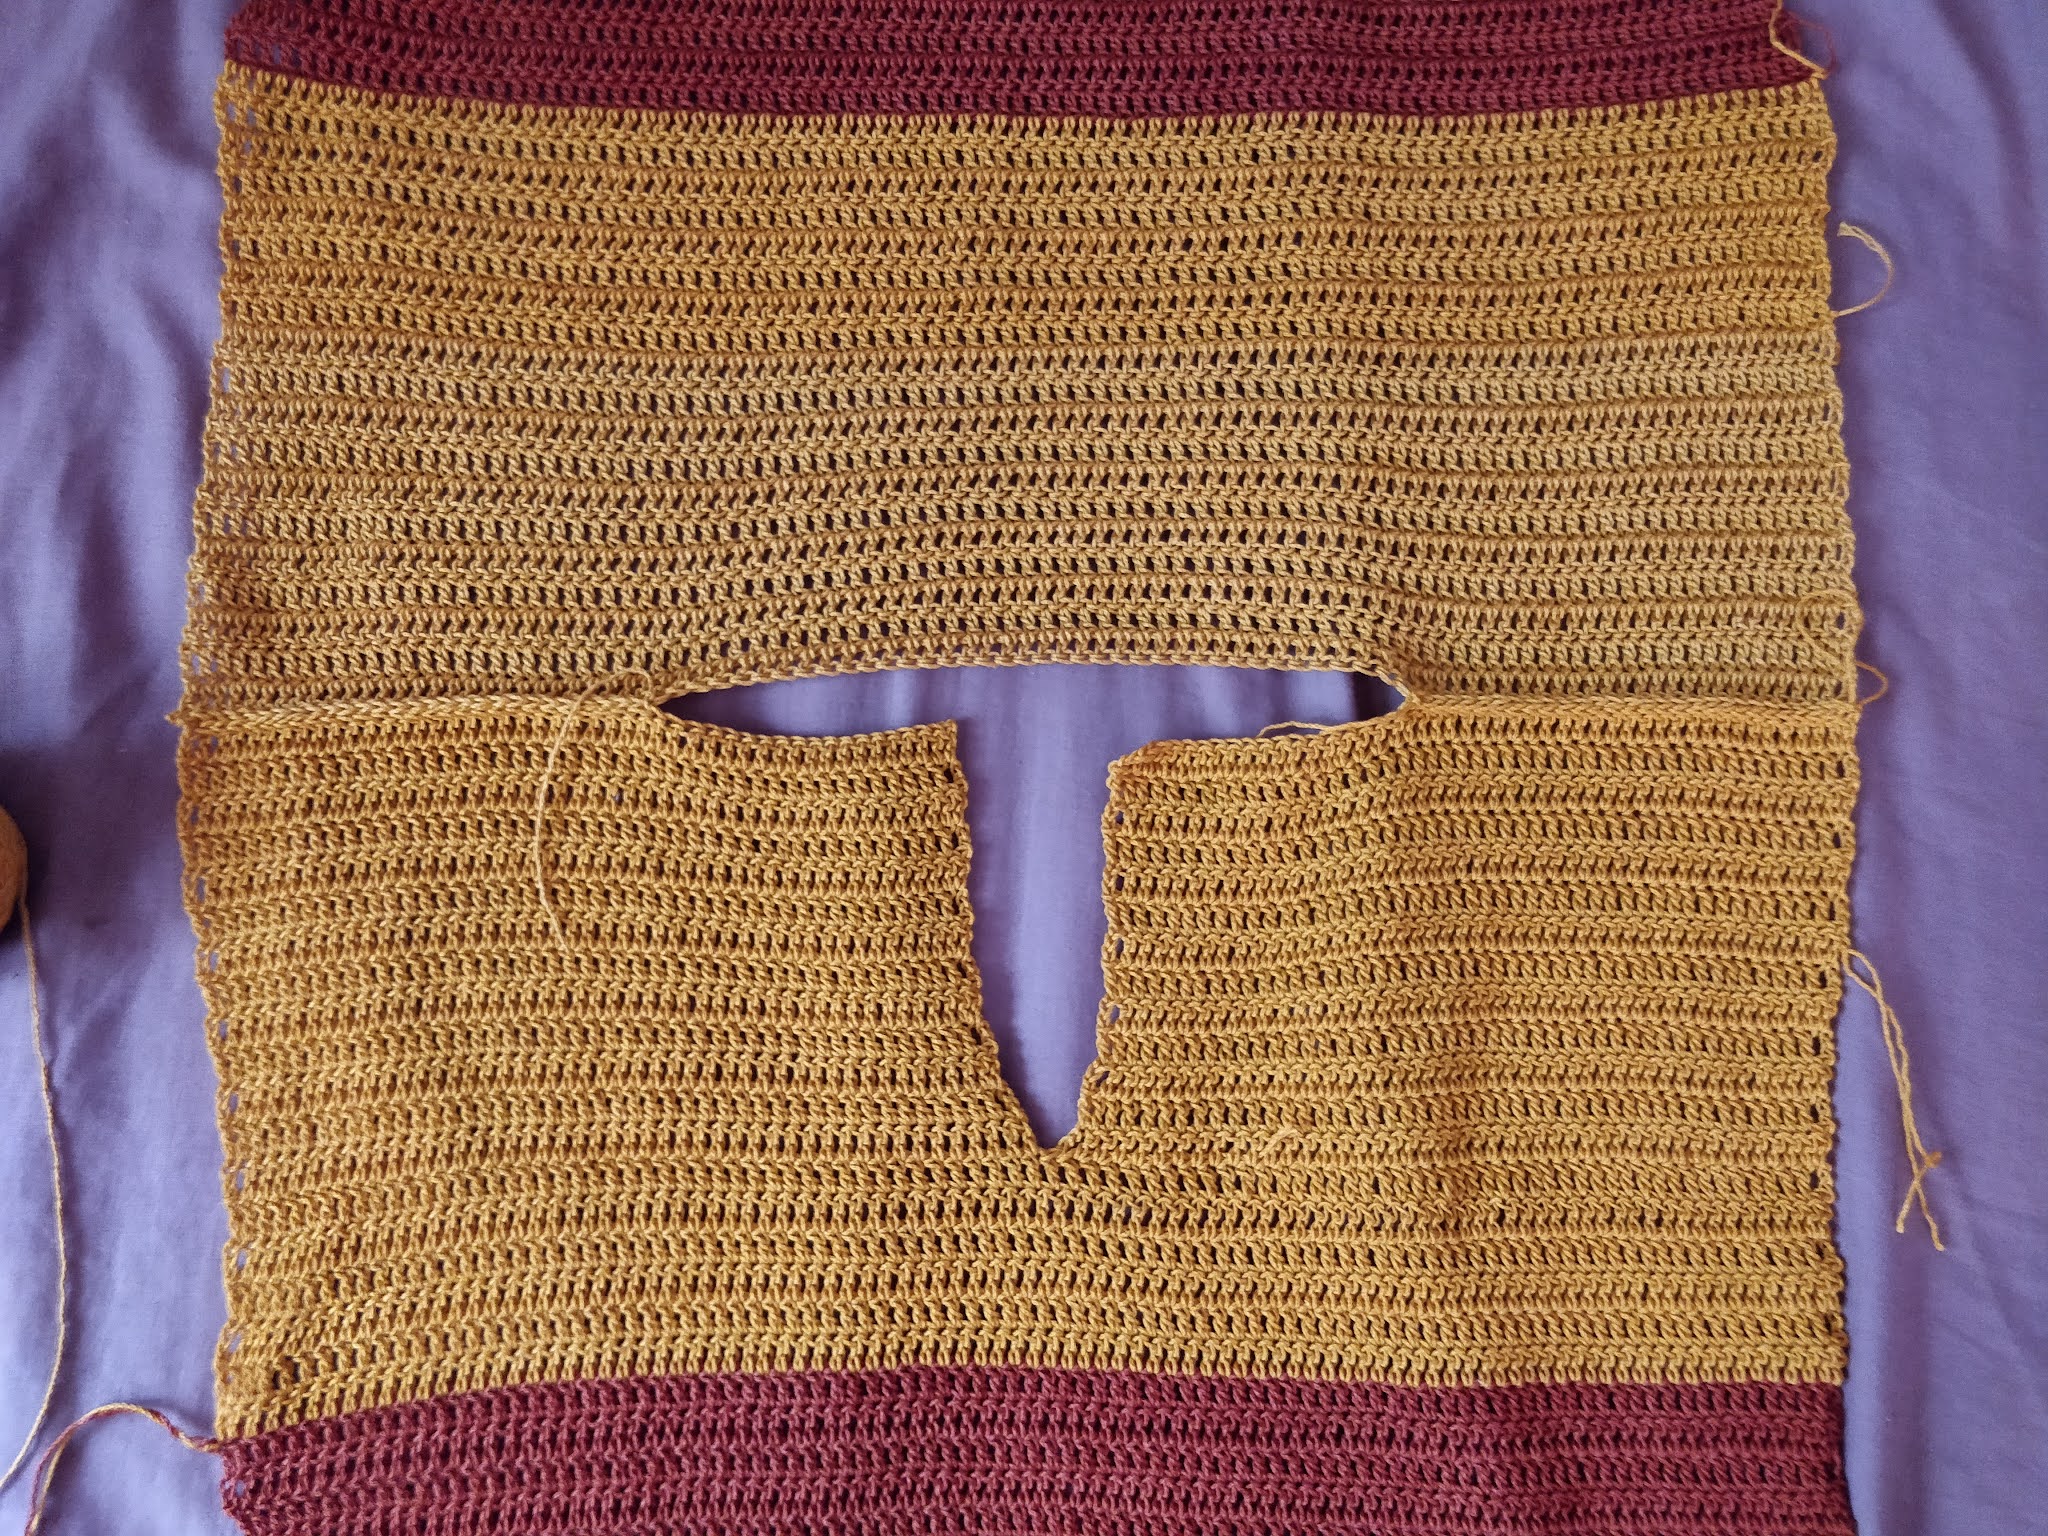
Now attach the yarn on the other side of the stitch marker and make the same no. of stitches. So your front panel should look like this. Same length as back panel, but with a slit at the top.

With right sides facing together, attach the shoulder seams, leaving a gap for the neck opening. When you spread it out the opening should look like a "T".
Now we'll make sleeves [optional]. You have your armhole measurement, with shoulder seam as reference, mark the stitches where you need to work your sleeve. You can make as many rows as you want.

Now, with right sides facing together, attach the side seams, either with slip stitch or you can even sew it together.
It's time to make the collar. Turn the top right side out, and open the neck flaps. We'll work along the edges of these flaps and the back panel to form the collar. [I hope the red arrow helps!!!]

Attach the yarn in one corner. Make in increase in the very first stitch. Then dc in each stitch till you reach the last stitch, and increase in that stitch. Continue working rows like this, you must increase in every first & last stitch of the row.

You can keep going however long you want. Just fold the collar to make sure you are happy with the length.

There... That's it... Your Retrofun Polo Tee is ready. I hope you enjoyed this tutorial. If you liked this pattern and would like to see more like this, follow @madewithlovebydaisy on Instagram. That way you won't miss any new tutorial, pattern or giveaway! If you make this top, share pics with me by tagging me in your posts. Bye for now! I'll see you in my next post.
Happy hooking!
Daisy
This pattern is so much fun 😘 loved making it 💕
ReplyDeleteThank you! Do share pics by tagging me on Instagram.
DeleteIs it herringbone stitch that you use for this shirt
ReplyDeleteI have used the Half Double Crochet [HDC] for this pattern.
Delete